Create Your First Nudge
You don't need to be a marketing pro to get started. You can launch your first notification in just three simple steps.
Step 1: Add a new Nudge
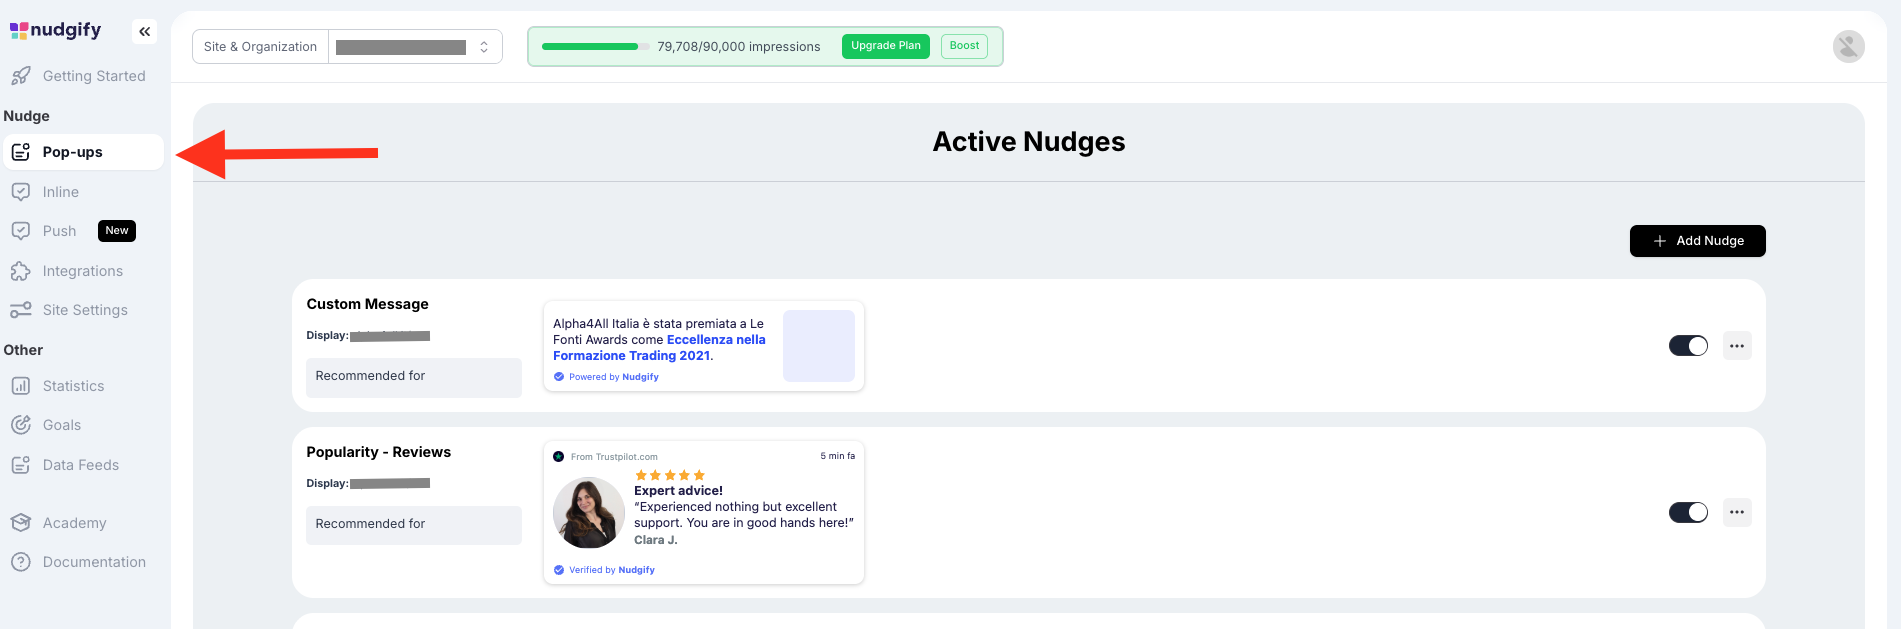
From your dashboard, look at the menu on the left side:
- Click Pop-Ups.
- Click the + Add Nudge button.
Step 2: Choose & Configure
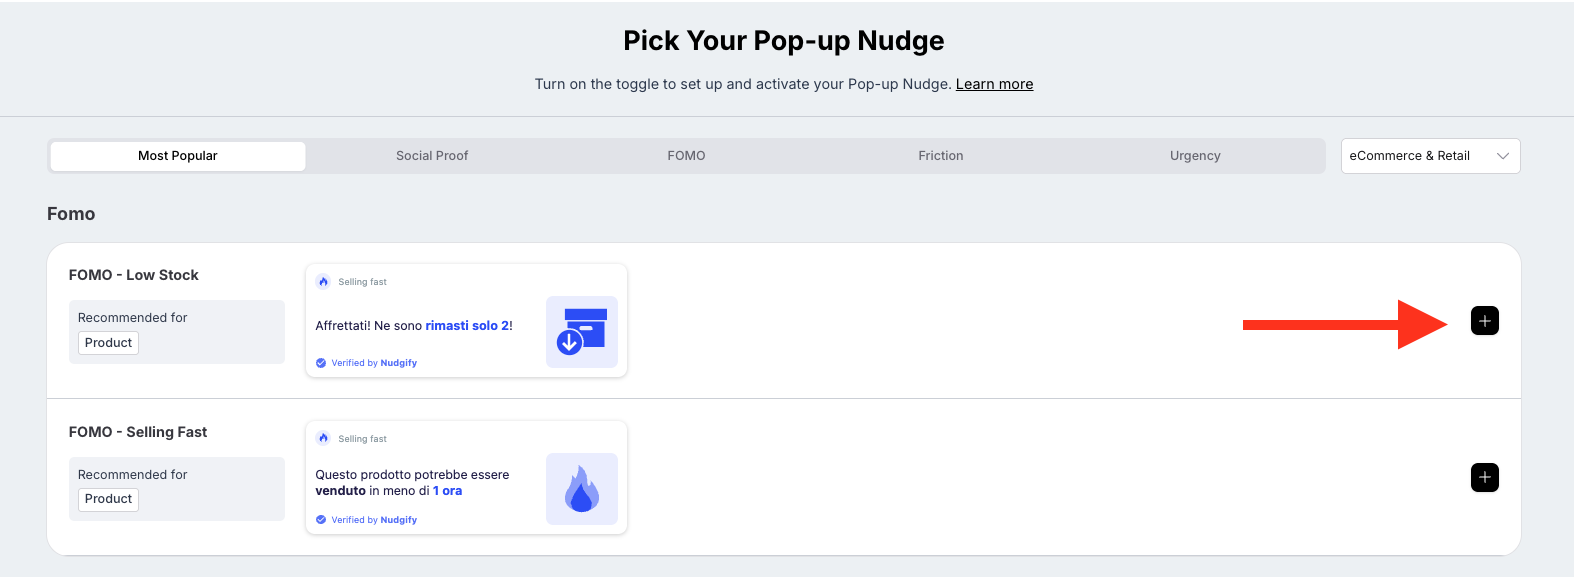
Browse the library and select the type of Nudge you want to use (like Recent Activity, Low Stock, or a Custom Message)
- Customize: Adjust the text, timing, or rules to fit your store’s needs.
- Preview: You can see exactly how the Nudge will look on desktop and mobile before you finish.
Step 3: Go Live
Decide where you want the Nudge to appear (e.g., on "All Pages" or just the "Checkout" page)
- Once you are happy with the settings, click Continue.
- Toggle the status to Active (or click Save).
Remember that some Nudges collect real-time data from your website. This means that it can take a while for them to appear on your website. For example, a Recent Purchase Nudge will only appear if you have purchases to show. You can check if your data is coming through to Nudgify in your Data Feeds.
